Make Elder Dialler the default phone app
Complete Android's phone-role decision before Guided Setup and feature-specific permissions.
First launch and default-phone role
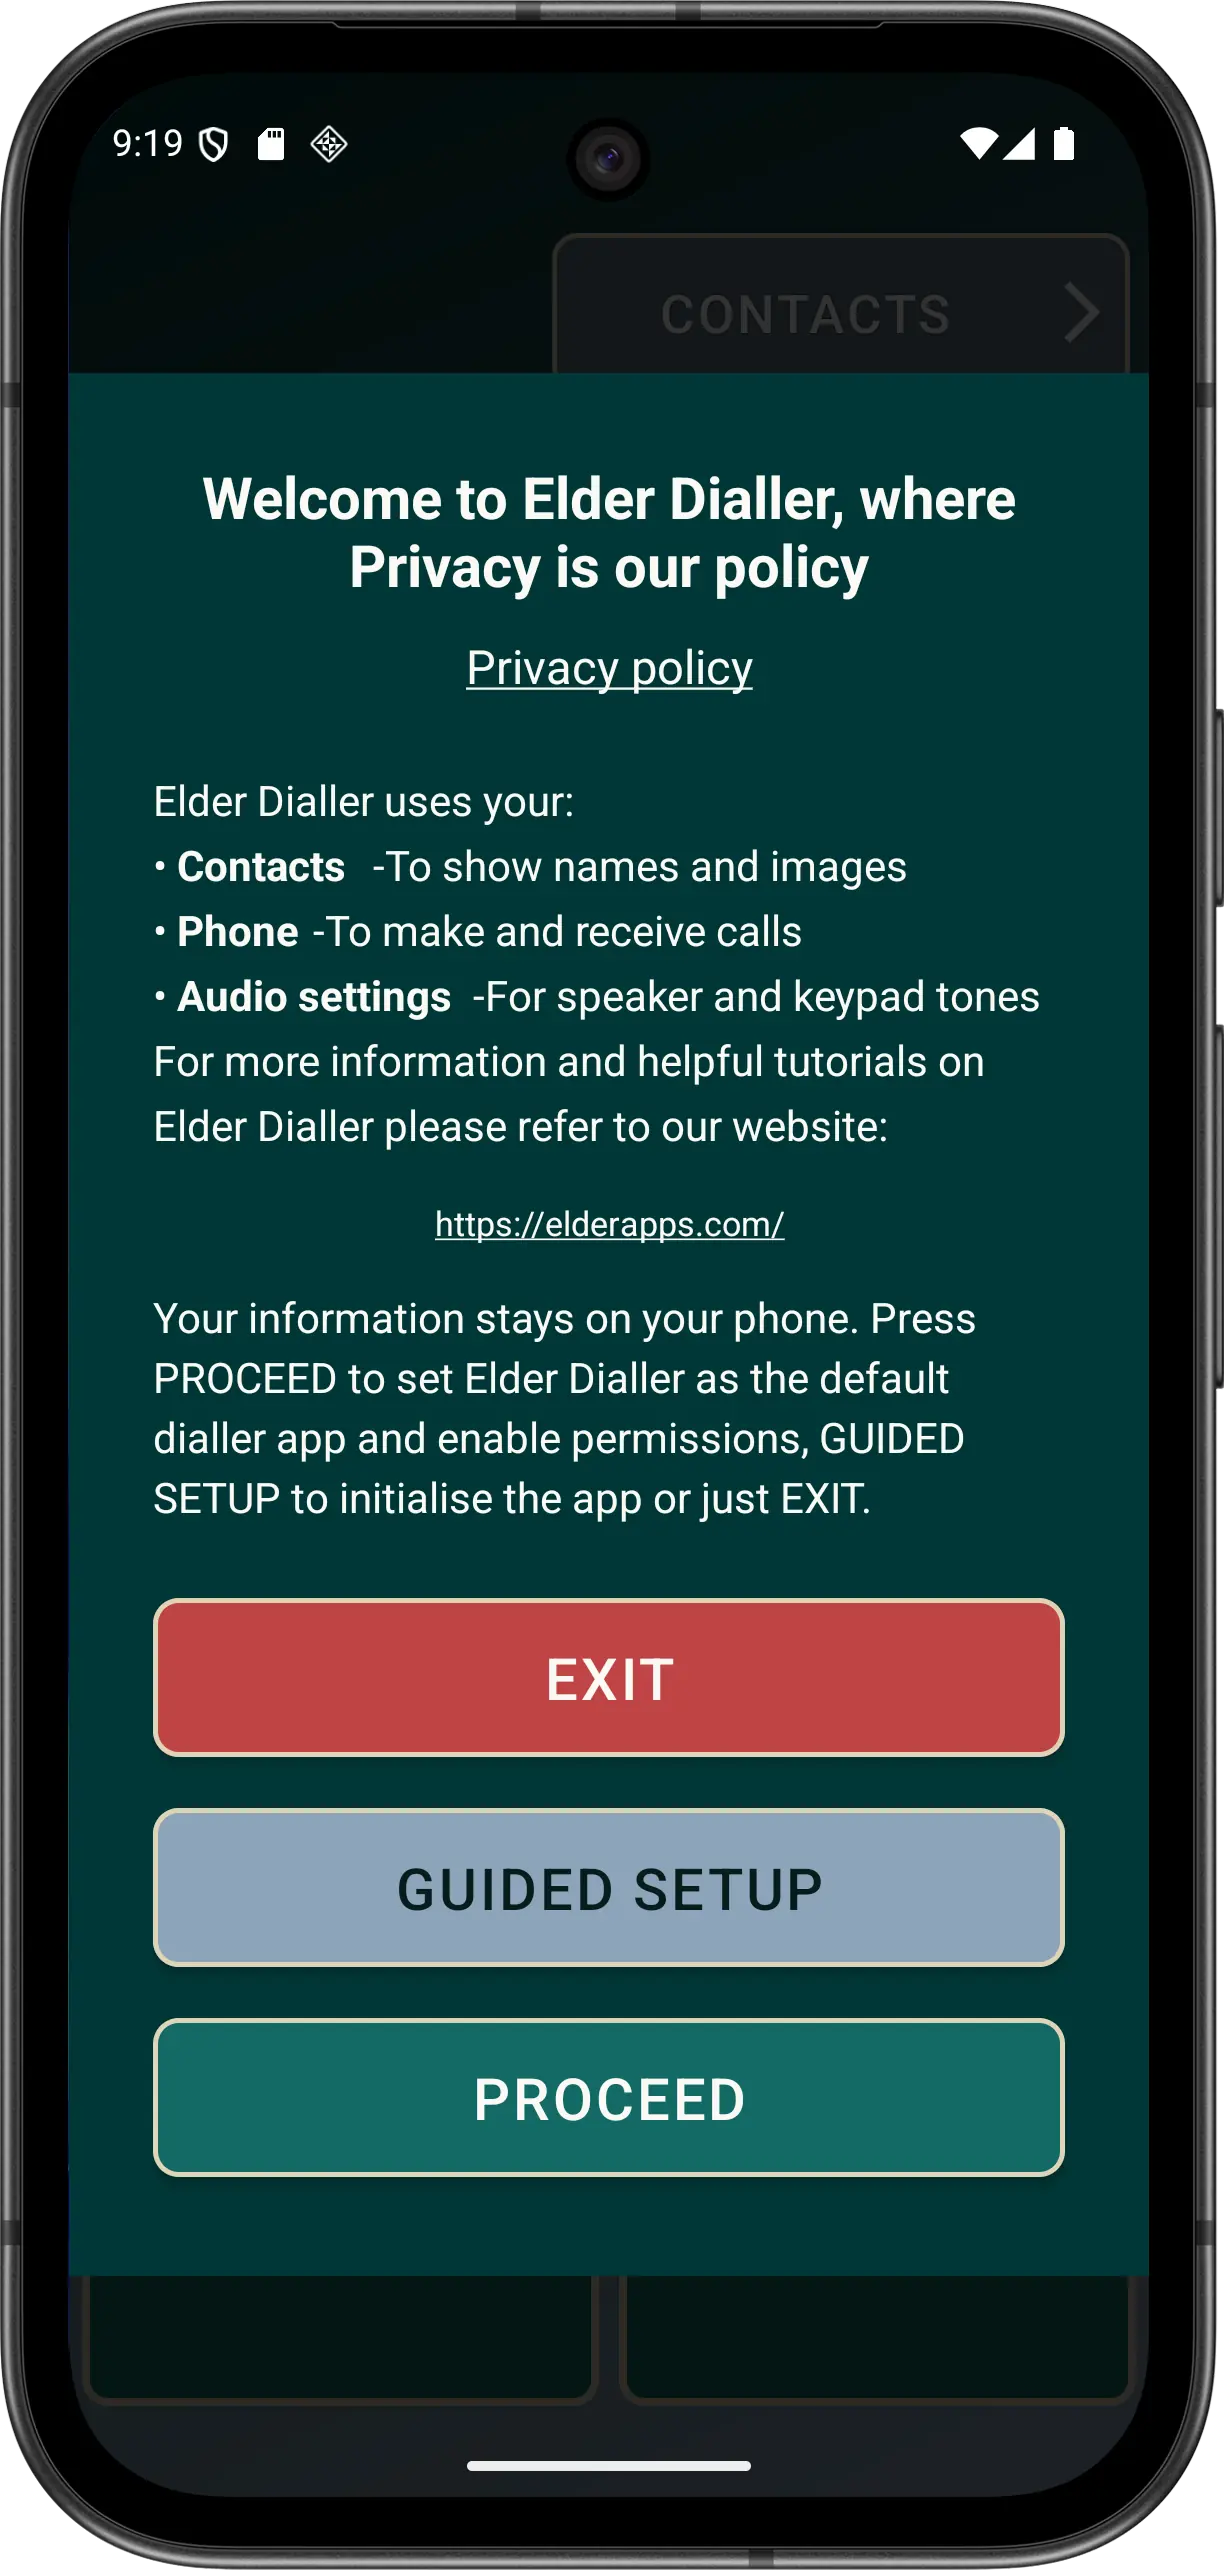
- Open Elder Dialler and read the first-run explanation. Choose normal continuation, Guided Setup or cancellation.
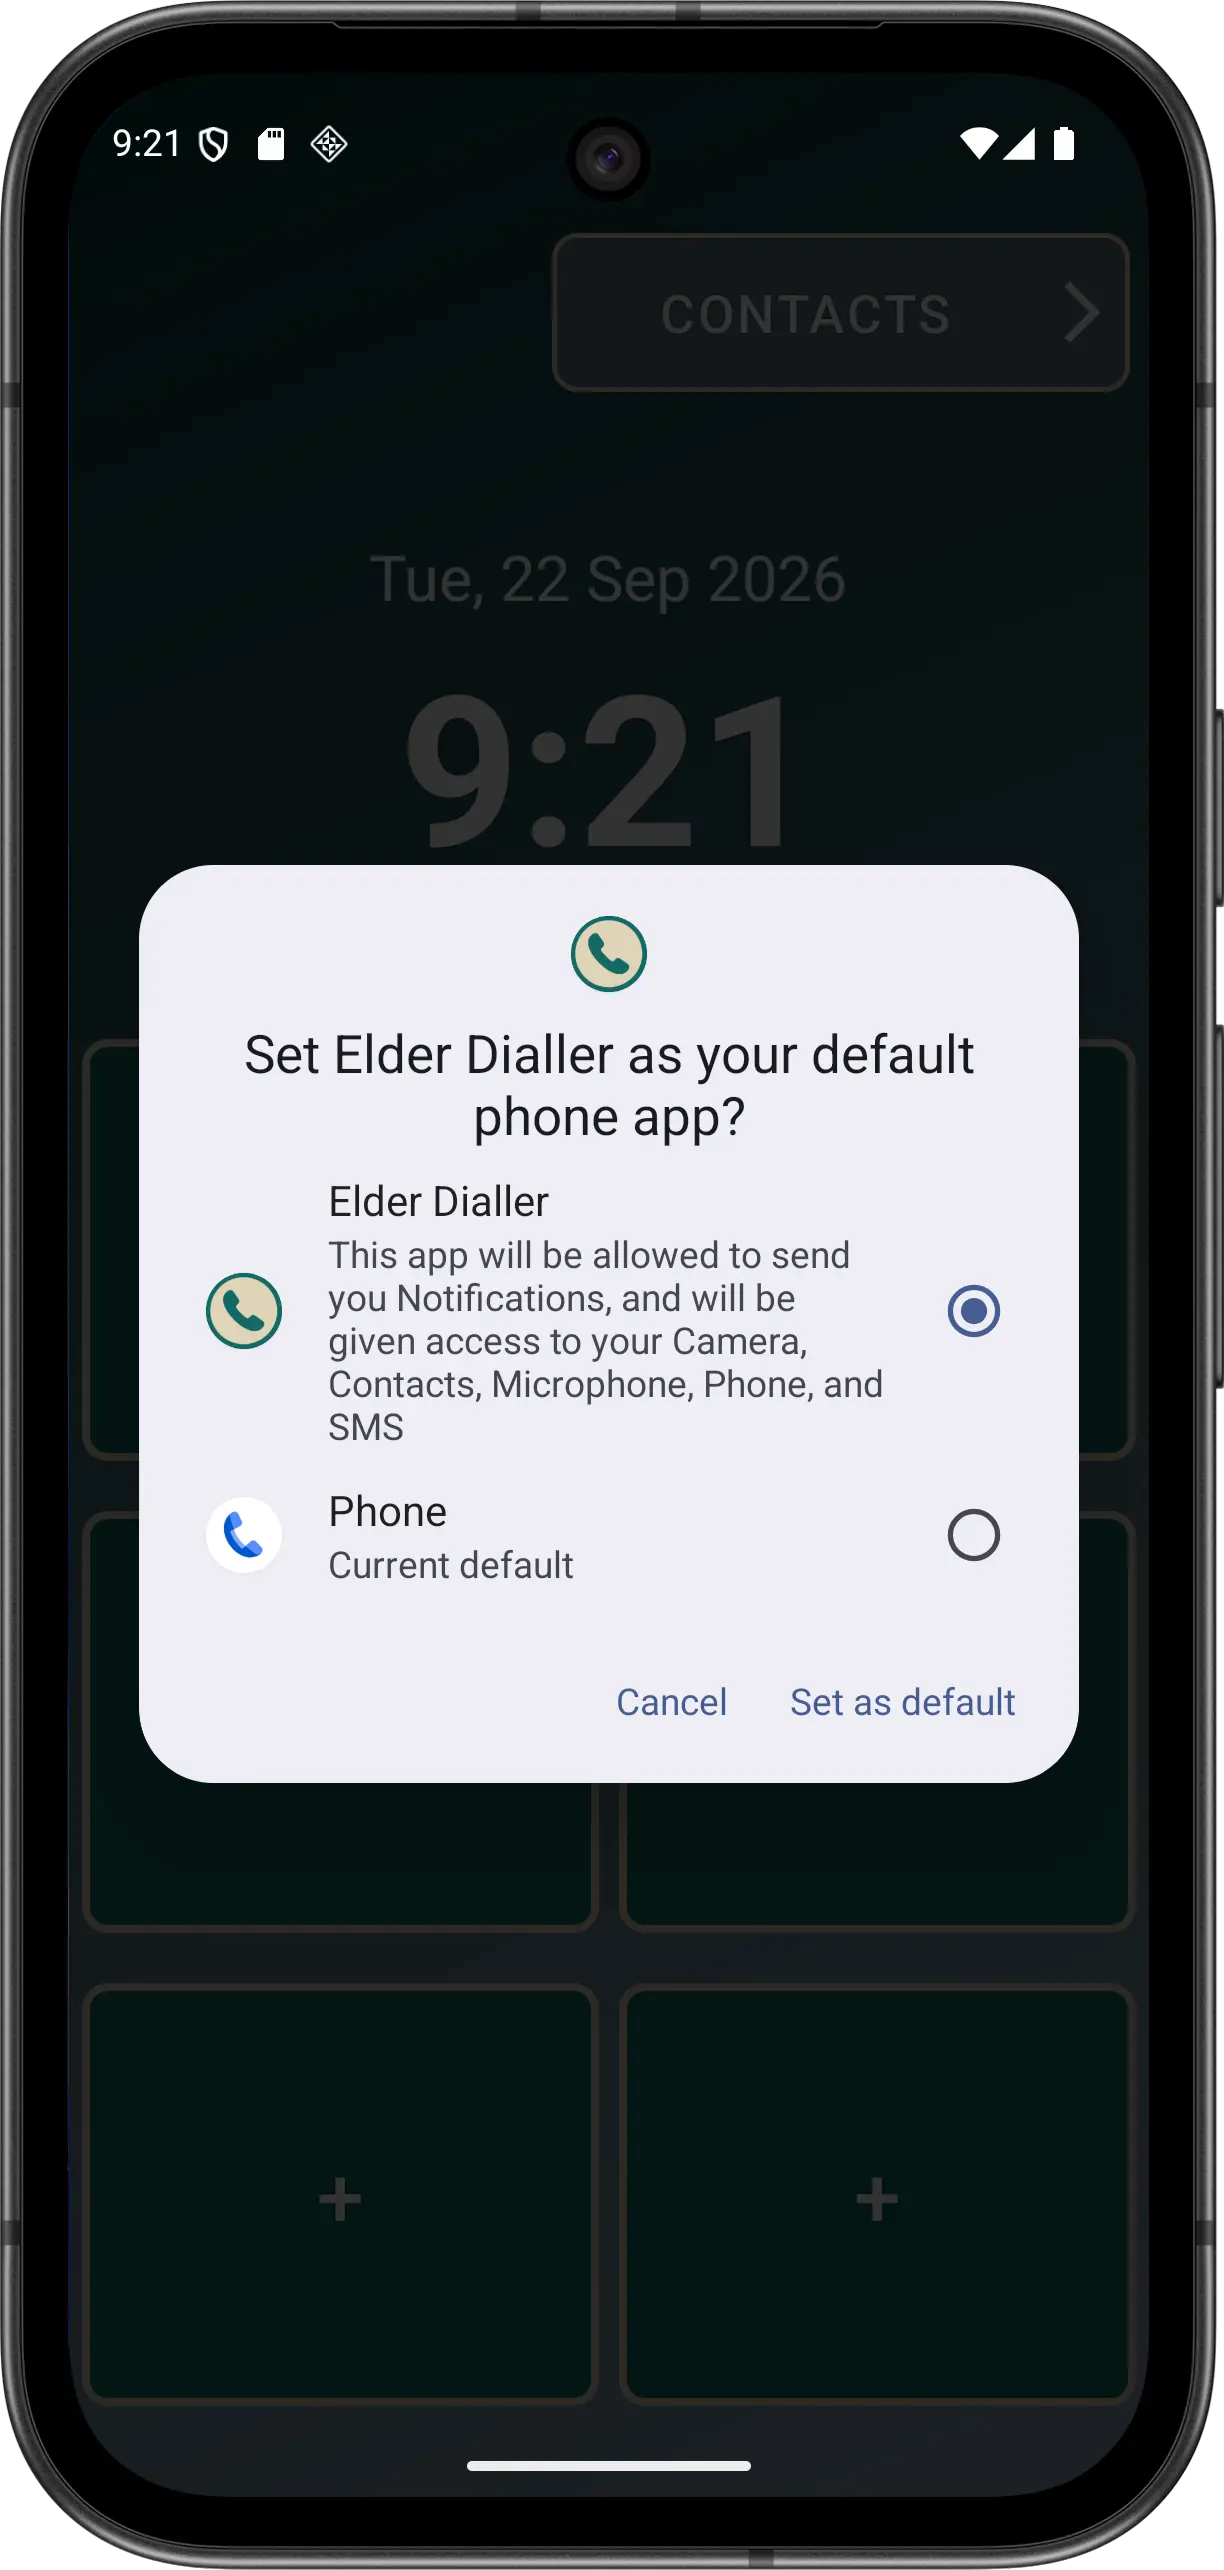
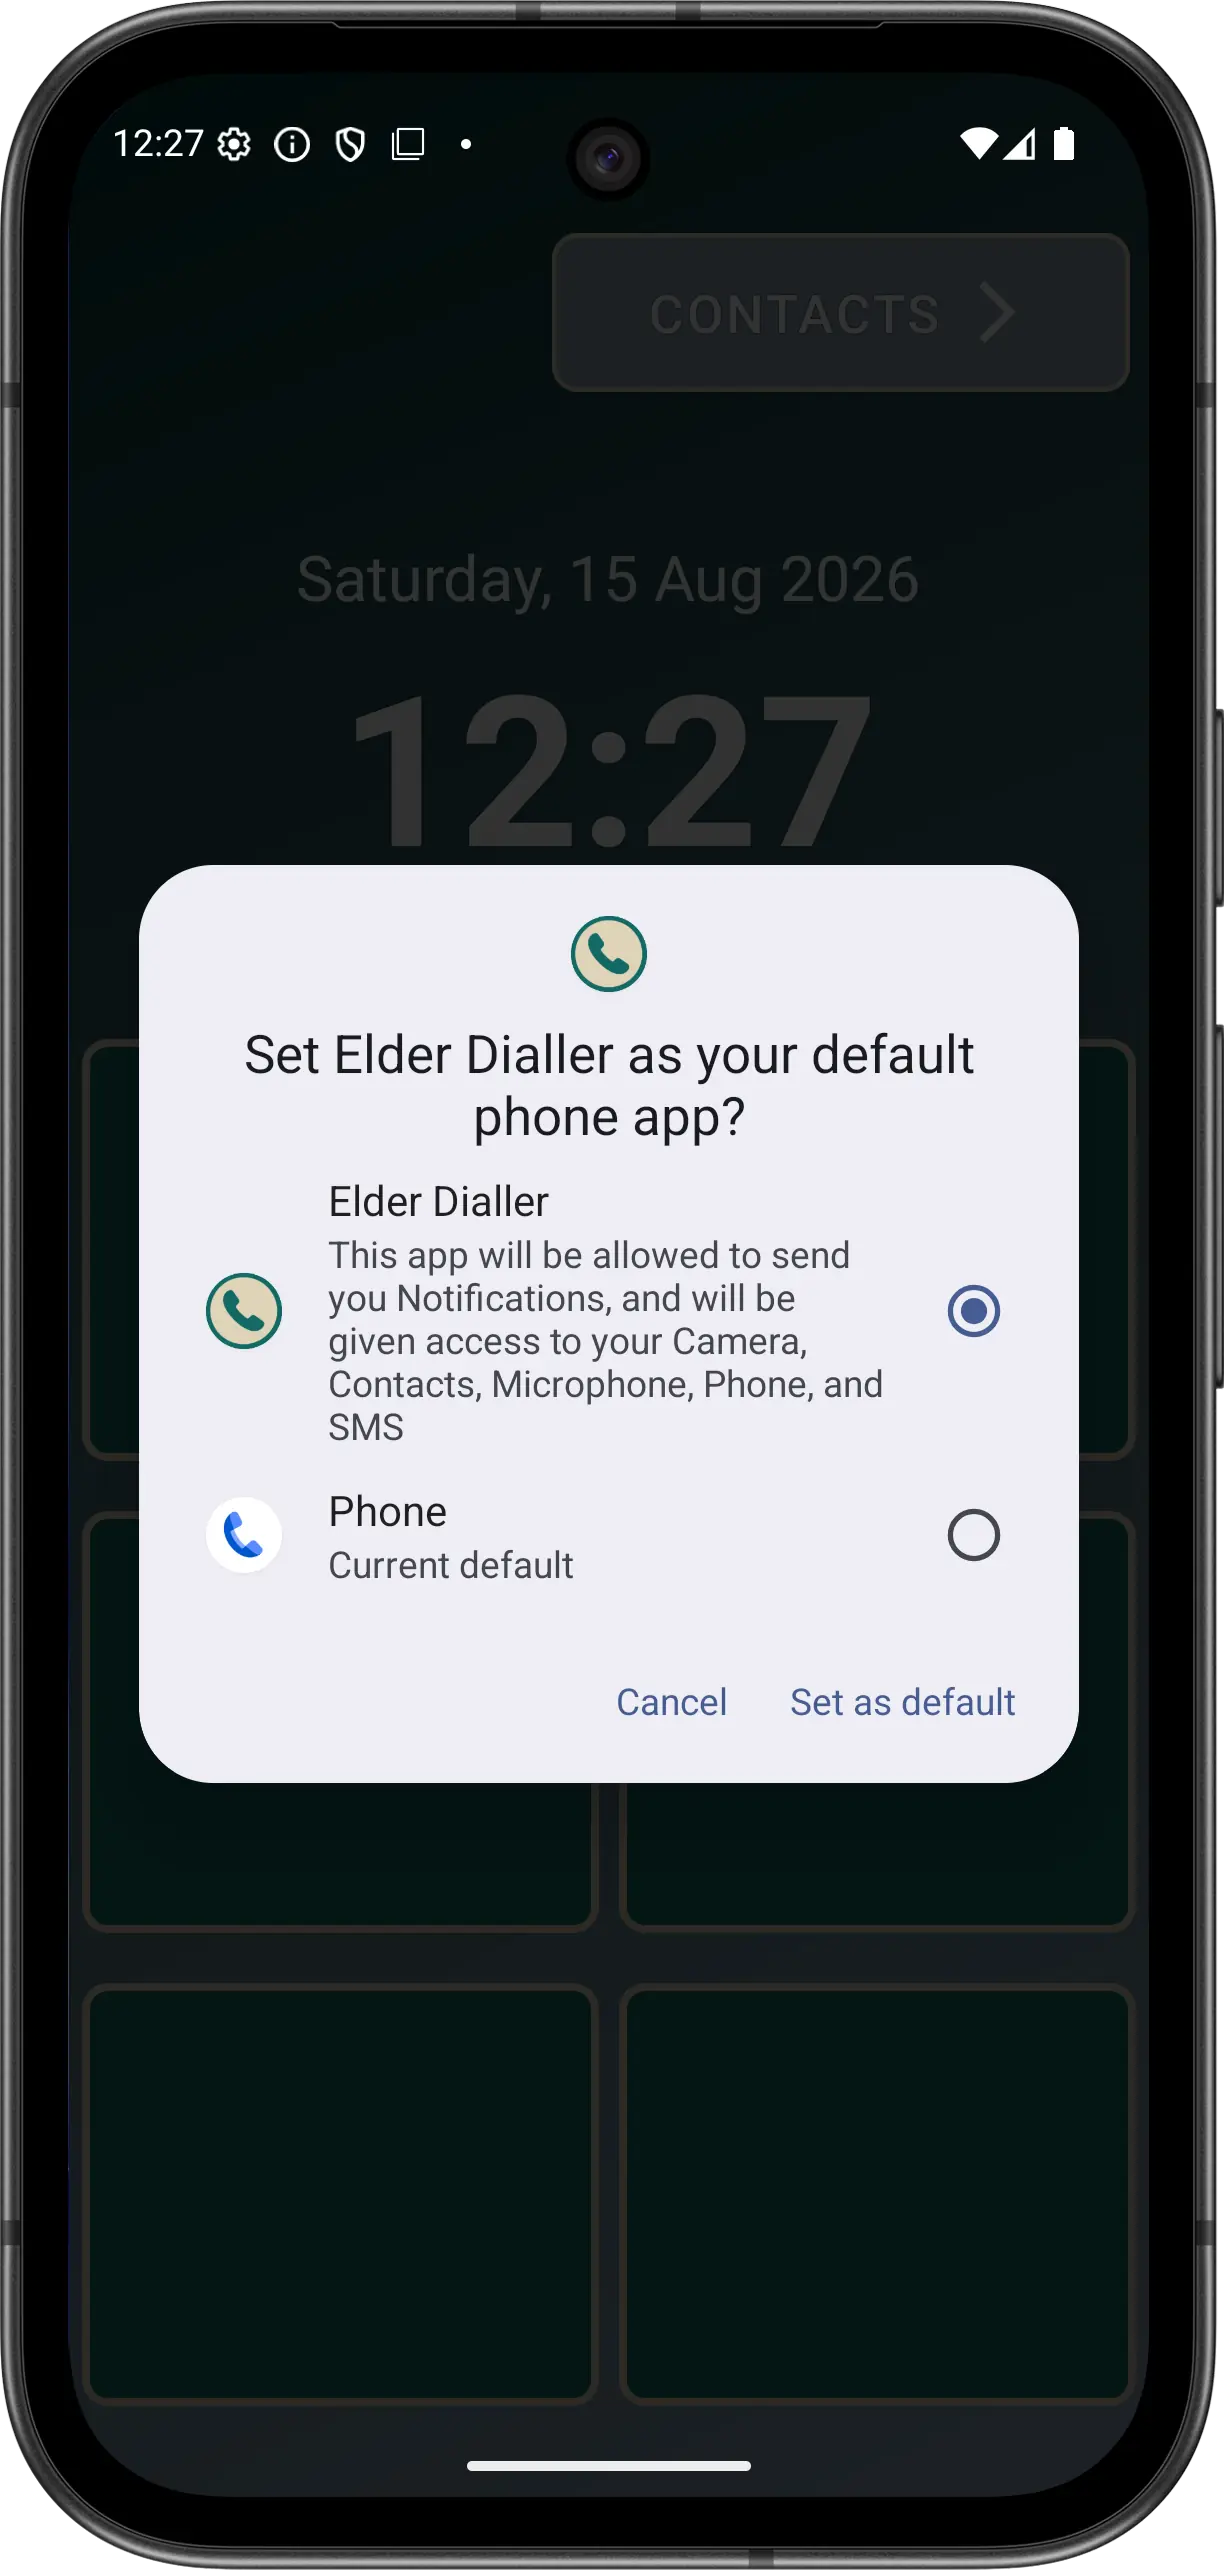
- Continue to Android's default phone-app prompt. Android owns this prompt, so wording and appearance vary by device.
- Select Elder Dialler as the default phone app. Guided Setup begins only after the role result confirms this choice.
- Respond to a feature permission when the related action needs it. Calling, Contacts and notifications are requested on demand rather than as one startup bundle.
- Make a planned test call. Use a consenting contact and check Elder Dialler's outgoing and active-call screens.
Contacts remain Android-managed. Elder Dialler reads visible contacts after permission is granted but delegates adding and editing to Android Contacts; it does not request write-contact access.
If Android does not show the role prompt: open Android Settings and find Default apps or Phone app. The path varies between devices.
Disclaimer: All names, contact details, and images displayed on this website and shown within the Elder Dialler application are entirely fictitious and are used for demonstration and illustrative purposes only. Any resemblance to real persons, living or deceased, is purely coincidental. No content is intended to represent, simulate, or replicate any actual individual.